
Room Data
Room information is added and maintained in the Rooms table
To access the Rooms table, go to Data entry > Rooms.
Table Columns
The Rooms table has the following columns:
- Code: A unique code to identify the room, e.g. A1
- Faculty: Specifying the faculty will assist with identifying faculty rooms in the Rooming screen. This optional column can be enabled via the 'Optional columns' button. Mapping rooms to a faculty will keep your data organised and easy to read when assigning rooms to Courses and Classes.
- Capacity: The maximum number of students the room can accommodate.
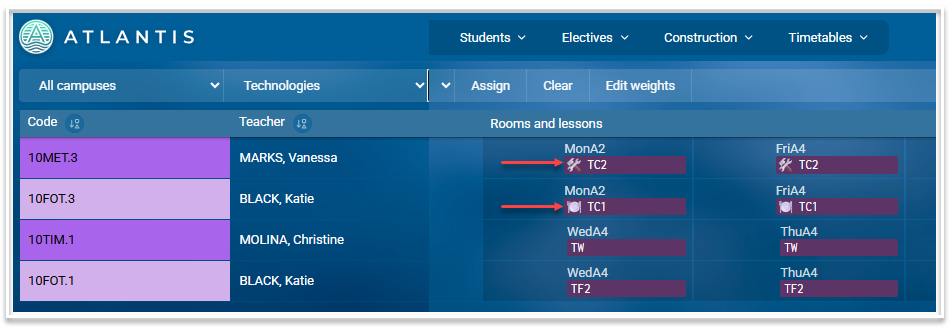
- Icon: An icon representing the functionality of the room can be selected. This icon will be displayed on timetables and also in the Rooming screen to help identify the type of room.
- HomeRoomOf: Enter a teacher code in this column so that they will be preferentially assigned that room in the rooming algorithm.
- Campus: Enter a campus here if a room is used for that campus only. Leave blank if the room can be used for any campus. This optional column can be enabled via the 'Optional columns' button.
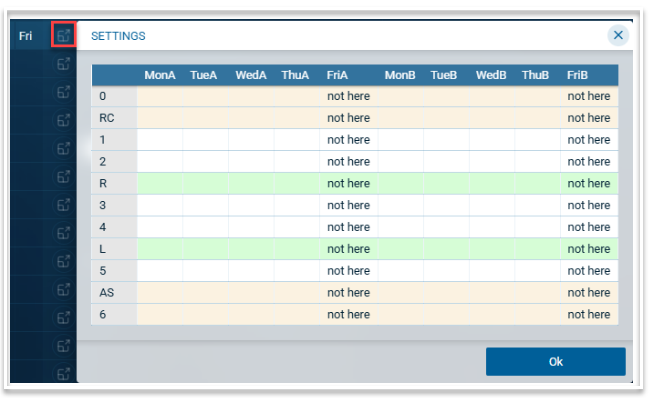
- Unavailable: List any days and periods where the room is unavailable.
Examples of syntax to use include:
- MonA (not available in any period on Monday A)
- Mon (not available on any Monday)
- Wed1 (not available in Period 1 on a Wednesday)
- 5 (not available every period 5)
Use the 'View' icon to check your syntax visually.
- Specialist: Type 'Y' for 'yes' and leave blank for 'no'. A specialist room will not be used as a general room in the rooming algorithm.
- ExternalId: This field will be populated if the data is imported from a 3rd-party software system. This optional column can be enabled via the 'Optional columns' button.
- Notes: Free text field to enter information about a room.
Notes
- For multi-campus schools, the campus filter can be used to display rooms for an individual campus or for the whole school by selecting 'All campuses'.
- Room data can be exported as a csv file using the Export button.
- Data can be imported using a .csv or .xlsx file. To import data, select the 'Import' button then drag the file onto the screen, matching column headers where necessary. Use one of the import options (Update, All new entries or Merge with existing data) to complete the import.
- The table can be sorted on any column by clicking on the sort icon in the column header. Blank fields will be displayed at the top.
- Columns can be resized.
- The Search bar can be used to find and filter data in the table.
- Related screens can be accessed using the links in the footer.